How to Turn a Family Photo Into a Printable Jigsaw Puzzle: A Step-by-Step Guide
Turning a family photo into a printable jigsaw puzzle is a creative way to preserve special memories while making a fun activity for the whole family. Whether you want to create a personalized birthday gift, a holiday activity, a classroom project, or a memorable weekend craft, you can transform an ordinary photograph into a puzzle that you can print at home.
The best part is that you do not need expensive software or professional design skills. With a clear photo, a suitable image editor, a printable jigsaw puzzle template, and a few basic supplies, you can create a custom puzzle in just a few steps.
In this guide, you will learn how to turn a family photo into a printable jigsaw puzzle, prepare your image for printing, choose the right puzzle difficulty, create realistic puzzle pieces, and assemble your finished project. You will also discover practical tips for getting sharper prints and making your personalized puzzle last longer.
What Do You Need to Make a Printable Jigsaw Puzzle From a Family Photo?
Before starting, gather the materials and tools you need. The exact requirements depend on whether you want a simple paper puzzle or a sturdier version mounted on cardboard.
Here is a quick checklist:
- A digital family photo saved on your computer or phone.
- An image editor or online photo editing tool.
- A jigsaw puzzle template or puzzle-making tool.
- A printer with sufficient ink or toner.
- Photo paper, heavyweight paper, or cardstock.
- Scissors or a craft knife for cutting the pieces.
- A cutting mat if you are using a craft knife.
- Cardboard or chipboard for extra durability, if desired.
- Glue or adhesive suitable for mounting the printed image.
For a beginner-friendly project, ordinary cardstock and scissors are usually enough. If you want a more polished result, use photo paper for image quality and mount the printed sheet onto thin cardboard before cutting it into pieces.
Step 1: Choose the Best Family Photo for Your Puzzle
The quality of your finished jigsaw puzzle depends heavily on the photograph you select. A good image should remain recognizable when divided into many small pieces.
Select a high-resolution image
Choose the highest-quality version of your family photo available. Images downloaded from messaging apps or social media may have been compressed, which can make them appear blurry when printed at a larger size.
For a standard 8.5 × 11-inch print, an image around 2550 × 3300 pixels provides approximately 300 pixels per inch when printed at that size. This is a useful target for detailed prints, although smaller images may still produce acceptable results depending on their quality and the intended viewing distance.
Avoid enlarging a tiny image excessively, as this can make faces and fine details look soft.
Pick a photo with clear details
Photos with recognizable faces, distinct clothing colors, and interesting backgrounds generally work well as puzzles.
Good choices include:
- A family portrait taken outdoors.
- A photograph from a birthday celebration.
- A family vacation picture.
- A holiday gathering.
- A photograph featuring children and pets.
- A special anniversary or reunion photo.
Try to avoid images that are extremely dark, heavily blurred, or filled with similar-looking colors. These features can make the puzzle much harder to solve.
Consider the final puzzle size
Think about where and how the puzzle will be used.
A small puzzle is suitable for young children, while a larger print may work better as a family activity or gift. Ensure the chosen photo has enough detail for the intended print dimensions.
For example, a family portrait with several people against a colorful garden background may work particularly well because the faces, clothing, flowers, and greenery provide different visual clues.
Step 2: Prepare the Photo for Printing
Once you have selected your image, prepare it for the page size you intend to print.
Crop the photo carefully
Most photos do not have the same proportions as standard printer paper. Cropping helps you fit the image into the available space without stretching it.
For example, if you want to print on US Letter paper measuring 8.5 × 11 inches, you could use a portrait layout for a tall family photo or a landscape layout for a group picture.
Before cropping, check that everyone's face remains visible. Leave a little space around the edges so that important details are not lost when the paper is trimmed.
Adjust brightness and contrast
A photo that looks good on a bright screen may print darker than expected. Small adjustments can help make faces and other important details easier to recognize.
Consider these improvements:
- Increase brightness slightly if the image is too dark.
- Adjust contrast to distinguish people from the background.
- Correct the color balance if the photo has an unwanted color cast.
- Apply mild sharpening if the original image is slightly soft.
Avoid excessive editing. Strong filters and oversharpening can make the photograph look unnatural.
Choose the correct orientation
Select portrait or landscape orientation according to the shape of your image. This reduces wasted paper and allows you to use the available print area efficiently.
If your printer supports borderless printing, you may be able to use more of the page. Otherwise, keep the puzzle design within the printer's printable margins.
Step 3: Turn the Photo Into a Jigsaw Puzzle Design
After preparing your photograph, you need to divide it into puzzle-shaped pieces.
There are several ways to accomplish this, depending on your preferred tools and how much control you want over the finished design.
Option 1: Use an online jigsaw puzzle maker
An online puzzle maker is often the easiest option for beginners. Depending on the tool, you may be able to upload a photo, choose the number of pieces, generate a jigsaw pattern, and download the result.
The general process is:
- Open a suitable online puzzle-making tool.
- Upload your prepared family photo.
- Select the puzzle layout or number of pieces.
- Adjust the design if customization options are available.
- Preview the puzzle to ensure the image looks correct.
- Download the completed design in a print-friendly format.
PuzzleToolslab.com can serve as a starting point for exploring puzzle-making tools and printable puzzle activities. Check the available features before choosing a workflow, because not every puzzle generator supports custom photo uploads or downloadable jigsaw templates.
Look for a tool that produces a high-resolution image or a PDF suitable for printing. A screenshot of a small puzzle preview may not provide sufficient quality for a large printed puzzle.
Option 2: Use a printable jigsaw puzzle template
If you prefer more control over the layout, use a blank jigsaw puzzle template.
A typical workflow involves placing the template over your photograph in an image editor, aligning the two layers, and exporting the combined design.
Follow these steps:
- Open the family photo in an image editor.
- Add the jigsaw template as a separate layer.
- Resize the template to match the image dimensions.
- Align the template with the photo.
- Check that the lines are visible and the puzzle pieces are reasonably sized.
- Export the design for printing.
A transparent PNG template may be useful for image editing, while a PDF or vector template can be preferable for clean printing.
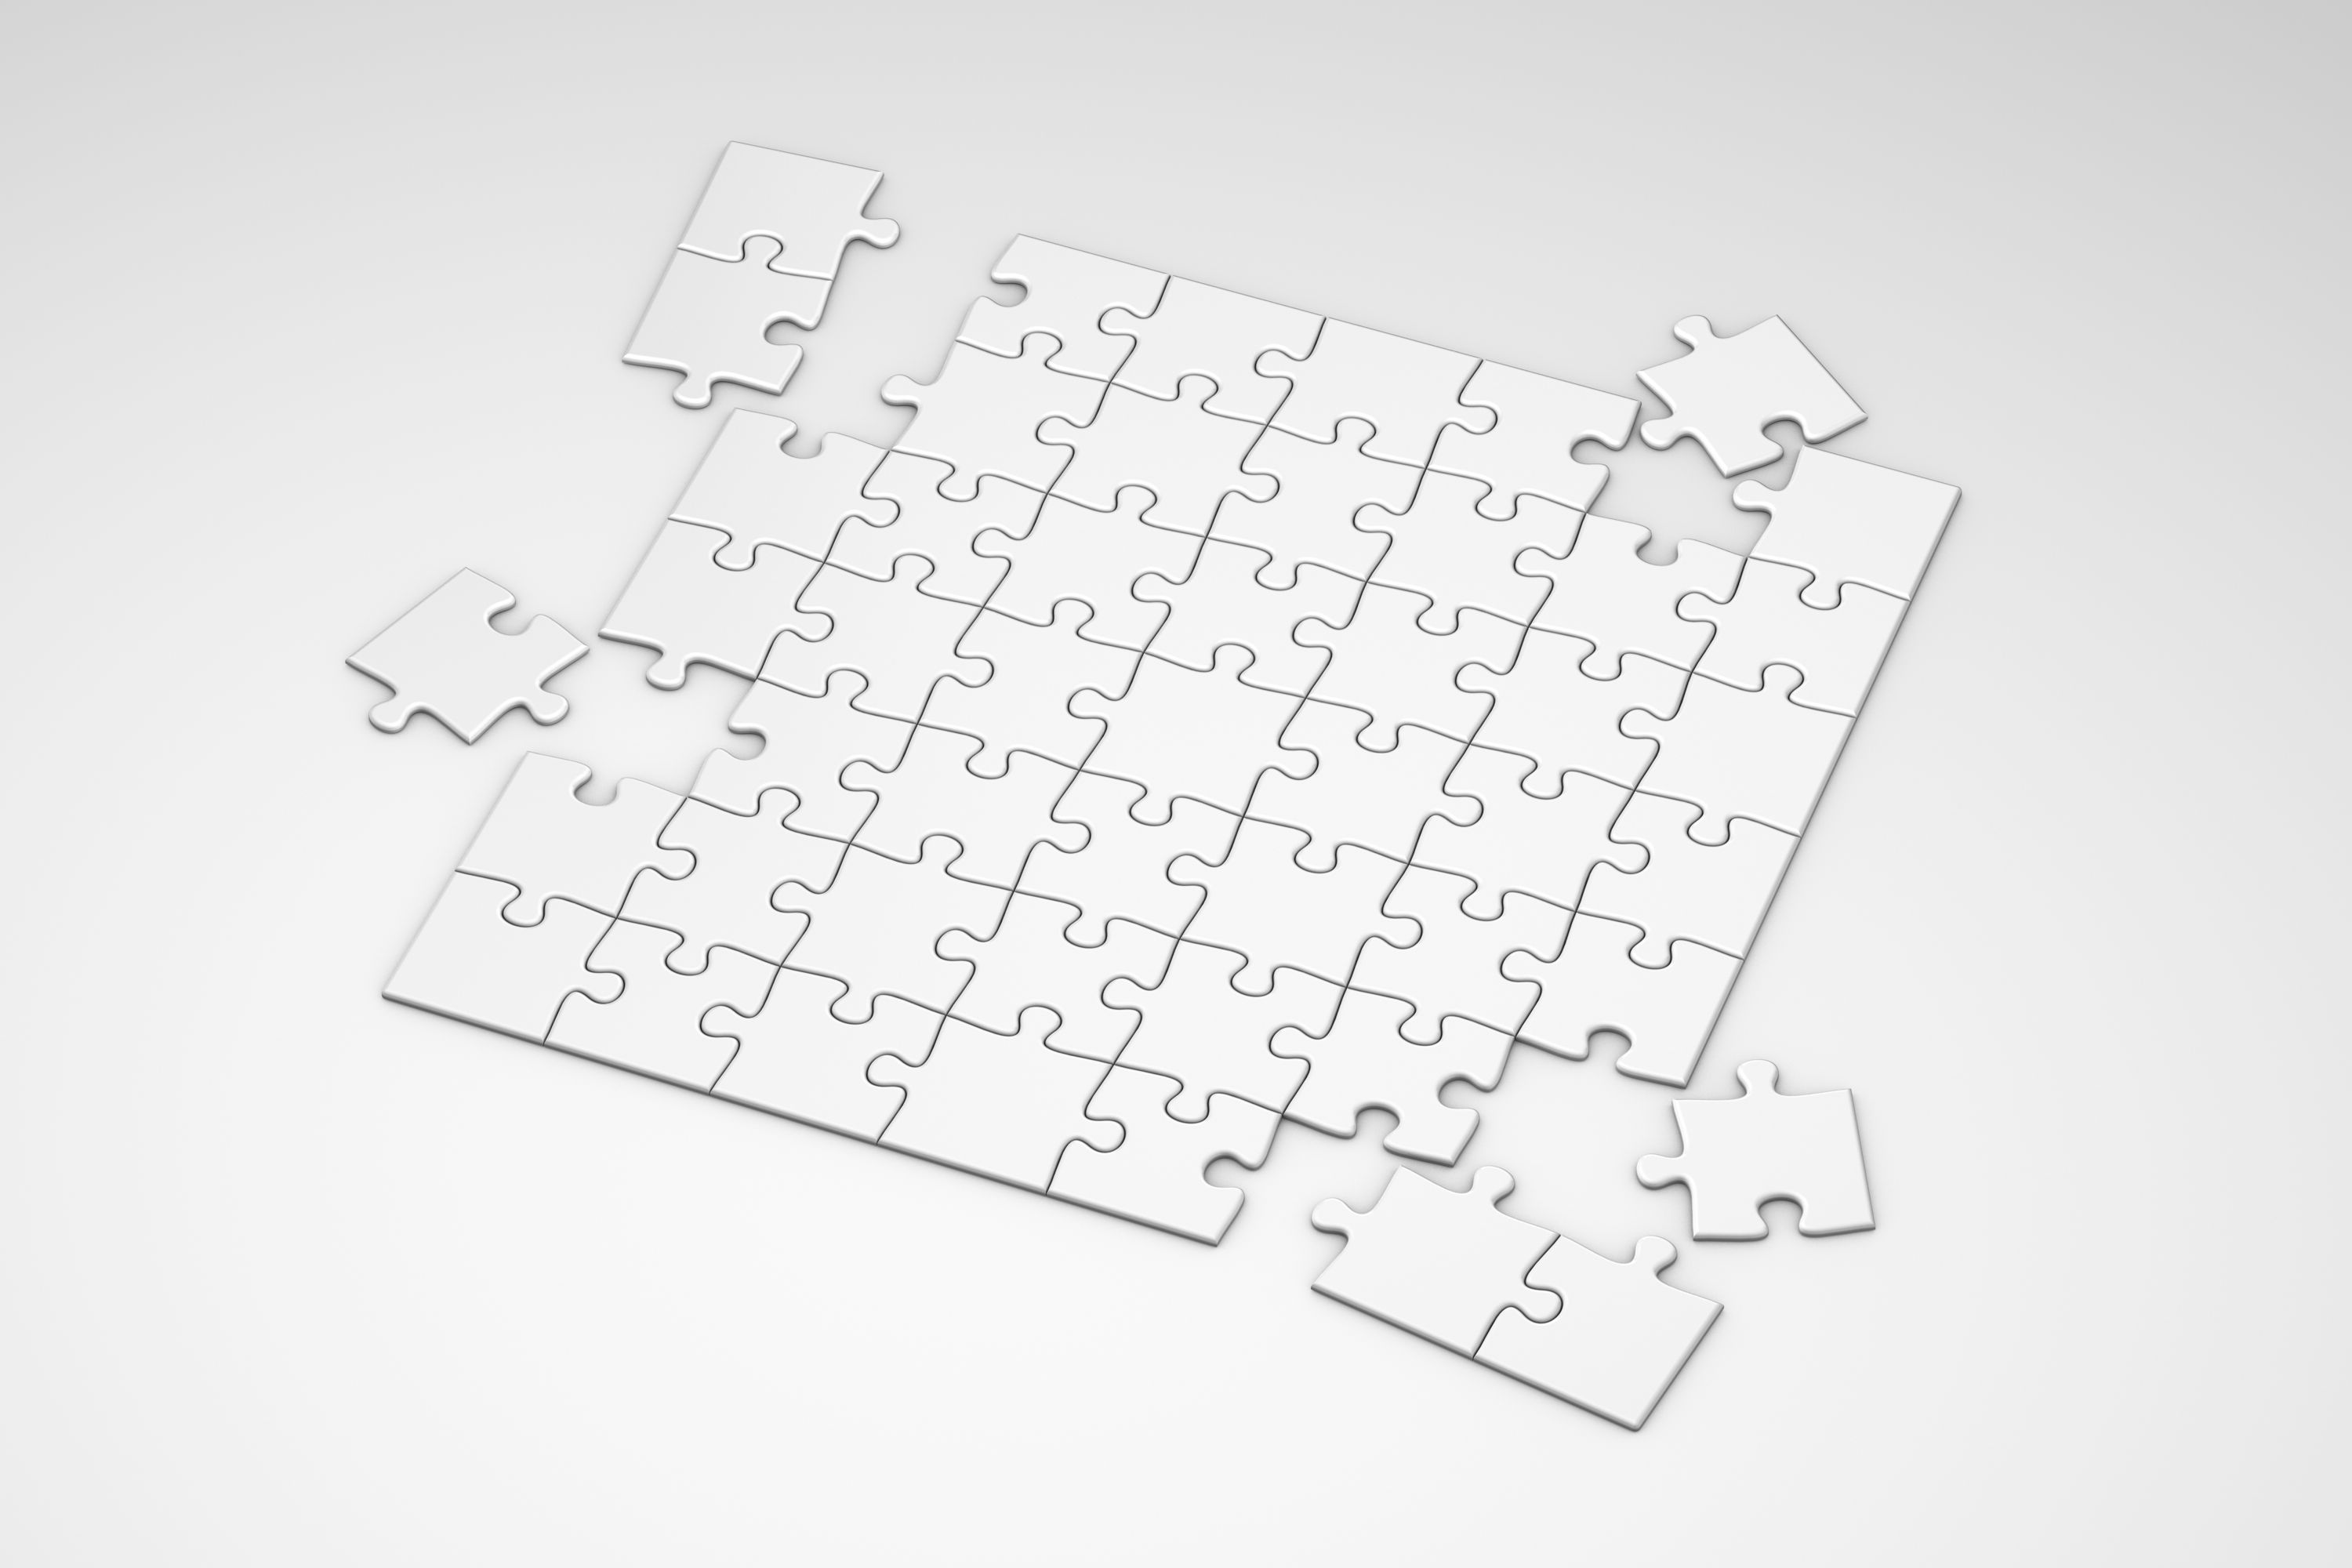
Make sure the template has a genuine jigsaw pattern rather than a simple square grid if you want the finished pieces to resemble a traditional jigsaw puzzle.
Option 3: Create a custom design with image editing software
More advanced users can create their own puzzle layout using image editing or vector design software.
This approach gives you greater control over the number of pieces, the shape of the tabs, the thickness of the cutting lines, and the placement of the photograph.
However, creating a convincing interlocking pattern from scratch can take time. For most home projects, a ready-made template or a tool that generates puzzle pieces is more practical.
Step 4: Choose the Right Number of Puzzle Pieces
The number of pieces determines how challenging the puzzle will be. Consider the age, patience, and experience of the person who will solve it.
Puzzle difficultySuggested piece countBest suited forVery easy4–12 piecesToddlers with adult supervisionEasy12–24 piecesPreschool childrenModerate24–60 piecesSchool-age children and beginnersChallenging60–100 piecesOlder children and casual puzzlersAdvanced100+ piecesExperienced puzzle enthusiasts, usually with a larger print
These are practical starting points rather than strict age-based rules. Piece size, image complexity, cutting precision, and the solver's experience all affect difficulty.
Match the piece count to the print size
A common mistake is putting too many pieces onto a small sheet of paper. The result may be difficult to cut accurately and frustrating to assemble.
For example, a letter-size print with 12 large pieces may be suitable for a quick children's activity. A 100-piece puzzle is generally easier to manage when printed larger and mounted on sturdy backing.
If you are making a puzzle for young children, choose larger pieces with clearly distinguishable colors and faces. For adults, you can experiment with smaller pieces and more detailed photographs.
Think about the image's visual complexity
A family photo with colorful clothing and a varied background offers more clues than a picture with a plain white wall.
If the photo contains large areas of nearly identical color, a high piece count may make the puzzle unnecessarily difficult. In that case, choose fewer pieces or select a photograph with more visual variation.
Step 5: Set Up the Puzzle for Printing
Once your design is complete, check the print settings before sending it to your printer.
Choose the correct paper size
Common options include:
- US Letter: 8.5 × 11 inches.
- A4: 210 × 297 millimeters.
- Larger photo paper, if supported by your printer.
Confirm that your design fits the selected paper size. A template designed for Letter paper may be clipped if you print it on A4 without adjusting the layout.
Select suitable print quality
For the best results, choose a print-quality setting appropriate for photographs or high-quality graphics.
Use these general guidelines:
- Select high or best quality when image detail matters.
- Choose the correct paper type in the printer settings.
- Check that the paper is loaded in the correct direction.
- Preview the page before printing.
- Disable automatic scaling if it distorts the intended dimensions.
If the design includes thin puzzle outlines, print a test copy on ordinary paper first. This lets you check the size, alignment, and visibility of the cutting lines before using more expensive photo paper.
Use the right file format
PDF is usually a convenient format for printing because it can preserve page dimensions and layout. A high-resolution PNG may also work well for a photo-based puzzle design.
If your design is saved as a JPG, check that the image quality is sufficient and that compression has not made the puzzle lines blurry.
Step 6: Print and Mount Your Family Photo Puzzle
After confirming the settings, print the design.
Allow the ink to dry completely before handling the paper, especially if you are using inkjet photo paper. Wet ink can smudge during mounting and cutting.
Should you use photo paper or cardstock?
The best paper depends on your priorities.
MaterialAdvantagesLimitationsStandard printer paperInexpensive and easy to cutFlimsy and less durableCardstockSturdier and easier to handleMay not reproduce photographs as smoothly as photo paperPhoto paperExcellent image detail and colorCan be slippery or difficult to cut cleanlyPhoto paper mounted on cardboardSturdy, polished appearanceRequires adhesive and additional preparation
For a simple activity, cardstock is often a good compromise between cost and durability.
For a keepsake, print the photograph on suitable photo paper and mount it onto thin cardboard or chipboard. Use an adhesive that spreads evenly and is compatible with both materials.
Apply pressure evenly while the adhesive dries to reduce bubbles and wrinkles. Follow the adhesive manufacturer's instructions before cutting.
Step 7: Cut the Printed Design Into Jigsaw Pieces
Cutting is the step that transforms your printed image into a physical puzzle.
Use the printed outlines as a guide
If your design includes puzzle outlines, follow them carefully. Work slowly and keep the cuts as consistent as possible.
Scissors are suitable for larger pieces on paper or thin cardstock. A craft knife can provide more precise cuts, especially for intricate shapes, but requires extra care and a suitable cutting surface.
For children, an adult should handle sharp cutting tools and prepare the pieces in advance.
Keep the pieces organized
As you cut, place the pieces in a tray or container. This helps prevent small pieces from getting lost.
You can also place all the pieces in an envelope and include a small reference picture. This makes the finished puzzle easier to store and share as a gift.
Check the fit
Try assembling a few neighboring pieces as you work. If the design has been cut incorrectly, you may notice gaps or mismatched edges.
For a hand-cut project, do not worry if every piece is not perfectly identical. The goal is to create pieces that are recognizable, reasonably sturdy, and enjoyable to assemble.
Step 8: Make Your Printable Family Photo Puzzle More Special
A custom jigsaw puzzle can be more than a simple craft. With a few thoughtful additions, you can turn it into a personalized gift or family activity.
Add a title or special date
Include a short title such as "Our Family Adventure," "Summer Memories," or "Grandparents' Anniversary."
You could also add the date or location of the photograph. Keep text away from the cutting edges so that important words are not divided awkwardly between pieces.
Create a themed puzzle
Match the photo to a special occasion:
- Birthday: Use a celebration photograph.
- Christmas: Choose a family holiday picture.
- Mother's Day or Father's Day: Select a meaningful family portrait.
- Anniversary: Use a wedding or memorable vacation photo.
- Family reunion: Include everyone in a group photograph.
Include a reference image
Print a small copy of the completed picture and give it to the person solving the puzzle. This is especially useful for children or beginners.
For a more challenging activity, keep the reference image separate or provide it only when needed.
Turn it into a family game
You can make the experience more interactive by timing how long it takes to complete the puzzle, working in teams, or creating several puzzles from different family photographs.
If you are organizing an event, prepare puzzles with different difficulty levels so that younger children and adults can participate comfortably.
Common Mistakes to Avoid
Even a simple photo puzzle can be disappointing if the image or print settings are not suitable. Watch out for these common problems.
Using a low-resolution photo: A small or compressed image may look blurry when enlarged. Start with the highest-quality original available.
Choosing too many pieces: Small pieces are harder to cut and handle, especially on a standard sheet of paper. Begin with a manageable layout.
Stretching the image: Changing the photo's proportions can make faces look unnatural. Crop it to fit instead of stretching it.
Printing at the wrong scale: Incorrect scaling can make puzzle pieces too small or distort the layout. Check the print preview and page dimensions.
Using flimsy backing: Ordinary paper can bend and tear. Use cardstock or mount the image onto suitable backing if you want reusable pieces.
Cutting before the ink dries: This can cause smudging and damage the print. Allow enough drying time before mounting or cutting.
Ignoring printer margins: Puzzle outlines near the page edges may be clipped. Keep the design inside the printer's printable area unless borderless printing is supported.
Tips for Getting the Best Results
Use these practical tips to improve the appearance and usability of your finished puzzle.
- Start with a test print. Confirm the image size and cutting pattern before printing the final copy.
- Use contrasting image details. Colorful clothing, faces, and recognizable objects make puzzles more enjoyable.
- Choose pieces that are easy to handle. Larger pieces are generally better for young children and quick activities.
- Check template permissions. If you download a puzzle template, verify that its license permits your intended use.
- Keep a backup of the original image. This makes it easy to create another version or change the difficulty later.
- Store the puzzle properly. A labeled envelope or small box keeps the pieces together.
- Supervise young children. Small pieces and sharp tools are not appropriate for unsupervised use by toddlers.
If you plan to sell finished photo puzzles, check the licensing terms of any templates, graphics, or software assets you use. Also obtain permission before using photographs of other people, particularly when selling or publicly distributing personalized products.
Frequently Asked Questions
1. How do I turn a family photo into a printable jigsaw puzzle?
Choose a clear, high-resolution family photo, prepare it for your desired paper size, and use a jigsaw puzzle generator or printable template to create the piece outlines. Print the design, mount it on cardstock or cardboard if needed, and cut along the outlines.
2. Can I make a jigsaw puzzle from a photo for free?
Yes. You can use free image editors and printable puzzle templates, provided their features and licensing terms meet your needs. Some online puzzle generators also offer free options, although high-resolution downloads or advanced customization may require payment.
3. What is the best image format for printing a photo puzzle?
A high-resolution PDF is convenient for preserving the print layout. A high-quality PNG can also work well for photo-based designs. The most important factors are image resolution, correct page dimensions, and clear puzzle outlines.
4. What resolution should a family photo have for a printable puzzle?
For a sharp print, approximately 300 pixels per inch at the final print dimensions is a useful target. For an 8.5 × 11-inch image, that is about 2550 × 3300 pixels. Lower resolutions can still work for smaller prints or casual projects.
5. How many pieces should a family photo puzzle have?
For a simple home activity, start with 12–24 pieces. A puzzle with 24–60 pieces may suit school-age children and beginners, while more experienced puzzlers may enjoy 100 or more pieces. The best count depends on print size, piece dimensions, and image complexity.
6. Can I make a photo jigsaw puzzle without special software?
Yes. A printable puzzle template and a basic image editor may be sufficient. Place the photo beneath the template, align the layers, and print the combined design. Alternatively, use an online tool that supports photo uploads and printable exports.
7. What paper is best for a homemade jigsaw puzzle?
Cardstock is a practical option for inexpensive, easy-to-cut puzzles. Photo paper can produce better image quality, especially when mounted onto thin cardboard. Choose a material that your printer supports and that you can cut safely.
8. How can I make a family photo puzzle more durable?
Mount the printed image onto thin cardboard or chipboard using a compatible adhesive. Let it dry fully before cutting. Store the pieces in a box or envelope to protect them from bending, moisture, and loss.
9. Can I create a printable puzzle for children?
Absolutely. Choose a bright photograph, use fewer and larger pieces, and print on sturdy paper. Prepare the pieces ahead of time and keep small parts and sharp cutting tools away from young children.
10. Can I turn a family photo into a puzzle as a gift?
Yes. A personalized photo puzzle makes a thoughtful birthday, anniversary, holiday, or family reunion gift. Add a short title or date, mount the image on sturdy backing, and package the pieces with a reference picture.
Conclusion
Learning how to turn a family photo into a printable jigsaw puzzle is a simple way to turn an everyday photograph into a meaningful keepsake. With a good-quality image, a suitable puzzle template, the right paper, and careful cutting, you can create a personalized activity without investing in specialized equipment.
Start by selecting a clear photograph, preparing it for your printer, and choosing a piece count that matches the intended difficulty. Use a test print to check the layout, mount the image if you want extra durability, and cut the pieces carefully.
Whether you are making a small puzzle for children, planning a family game night, or creating a personalized gift, the process can be both practical and rewarding. Explore the puzzle-making resources available through PuzzleToolslab.com, experiment with different designs, and turn your favorite family memories into a puzzle everyone can enjoy.